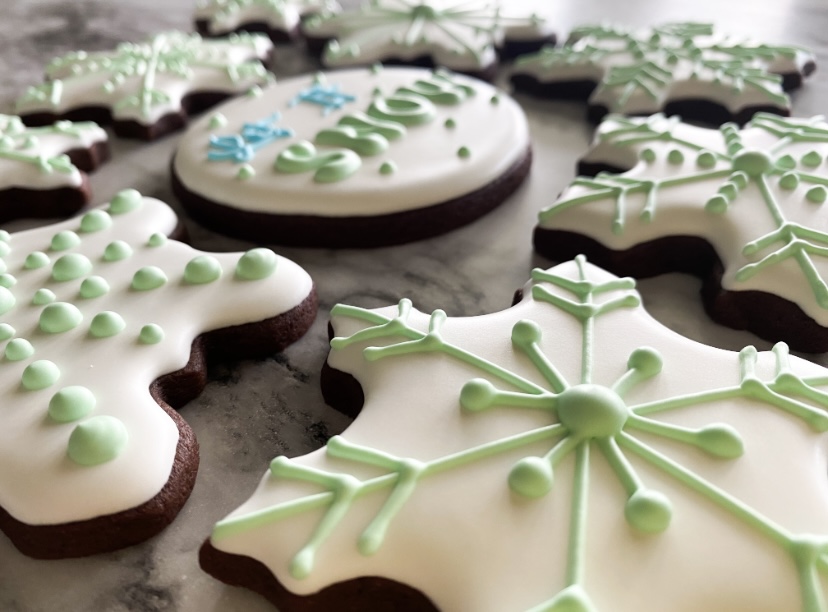
Decorating Sugar Cookies with Royal Icing Techniques

Decorating Sugar Cookies with Royal Icing Techniques
Decorating sugar cookies with royal icing is a delightful and creative way to enhance the appearance of your baked treats. Royal icing, made from a mixture of powdered sugar, egg whites, and a touch of lemon juice or vanilla, dries to a smooth, hard finish that is perfect for intricate designs. Here’s a guide to mastering various royal icing techniques to elevate your cookie decorating skills.
**1. Preparing Royal Icing:**
To begin, ensure your royal icing is at the right consistency. For outlining, the icing should be thick enough to hold its shape. For flooding, it should be slightly thinner to spread easily. Adjust the consistency by adding a few drops of water for thinning or more powdered sugar for thickening.
**2. Outlining:**
Outlining is the first step in decorating cookies. Use a piping bag fitted with a small round tip (such as a #2 or #3) to pipe an outline around the edge of the cookie. This creates a barrier to prevent the flooding icing from spilling over the sides.
**3. Flooding:**
Once the outline has set, use a thinner consistency icing to flood the inside of the outlined area. Use a squeeze bottle or a piping bag to fill in the space, and a toothpick or a cookie scribe to spread the icing evenly and pop any air bubbles. Allow the flooded icing to dry completely before adding additional details.
**4. Wet-on-Wet Technique:**
This technique involves adding details to the cookie while the base layer of icing is still wet. For example, pipe dots or lines of a different color onto the wet icing and use a toothpick to drag through the dots to create hearts or marbled effects. This technique is excellent for creating intricate patterns like flowers or plaid designs.
**5. Adding Dimension with Layers:**
To add dimension to your cookies, allow the base layer of icing to dry completely before adding additional layers. This technique is useful for creating raised designs, such as polka dots, stripes, or floral patterns. Use a thicker icing consistency for these details to ensure they hold their shape.
**6. Brush Embroidery:**
Brush embroidery is a technique that uses a small brush to pull icing from the edge of a piped line to create a textured, embroidered effect. Pipe a line of icing and immediately use a damp brush to pull the icing inward, creating a petal or leaf effect. This technique is perfect for adding delicate, lace-like details to your cookies.
**7. Stenciling:**
Stenciling involves using a stencil and a thicker icing consistency to create precise patterns on your cookies. Place the stencil over the dried base layer of icing, and use a spatula to spread the icing over the stencil. Carefully lift the stencil to reveal the design.
**8. Painting with Gel Colors:**
Once the icing is dry, you can use food-safe brushes and gel colors mixed with a few drops of vodka or lemon extract to paint designs directly onto the cookies. This technique allows for intricate details and shading, similar to watercolor painting.
**9. Adding Edible Accents:**
Enhance your decorated cookies with edible accents like sprinkles, edible glitter, or metallic luster dust. These can be applied to wet icing or adhered with a small amount of icing once the base layer is dry.
**10. Storage and Presentation:**
Allow the decorated cookies to dry completely before stacking or packaging them. Store in an airtight container to maintain freshness. Beautifully decorated cookies make excellent gifts or party favors, and they can be customized for any occasion.
By mastering these royal icing techniques, you can transform simple sugar cookies into stunning works of art. With practice and creativity, the possibilities for cookie decorating are endless.