How to Make Homemade Tagliatelle from Scratch
# How to Make Homemade Tagliatelle from Scratch
Tagliatelle is a classic Italian pasta known for its long, ribbon-like shape. Traditionally made with fresh egg pasta dough, tagliatelle pairs beautifully with a variety of sauces, from rich and meaty ragù to light and creamy options. Making homemade tagliatelle from scratch may seem daunting, but with a few simple ingredients and some patience, you can create delicious, fresh pasta right in your own kitchen.
## Ingredients
To make homemade tagliatelle, you will need:
– **2 cups (250g) all-purpose flour** or **”00″ flour** (for a silkier texture)
– **2 large eggs**
– **A pinch of salt**
– **1 teaspoon olive oil** (optional, for added elasticity)
## Equipment
– A clean work surface or large mixing bowl
– A rolling pin or pasta machine
– A sharp knife or pasta cutter
– A fork or dough scraper
– A clean kitchen towel
## Step-by-Step Instructions
### 1. Prepare the Dough
1. **Make a Flour Well:** On a clean work surface, pour the flour into a mound and create a well in the center.
2. **Add the Eggs:** Crack the eggs into the well, add a pinch of salt, and drizzle in the olive oil if using.
3. **Mix the Ingredients:** Use a fork to gently beat the eggs, gradually incorporating the flour from the edges of the well. Continue mixing until a shaggy dough forms.
4. **Knead the Dough:** Gather the dough and knead it with your hands for about **8-10 minutes**, until it becomes smooth and elastic. If the dough is too dry, add a few drops of water; if too sticky, dust with a little more flour.
5. **Rest the Dough:** Wrap the dough in plastic wrap or cover it with a kitchen towel and let it rest for **30 minutes** at room temperature. This allows the gluten to relax, making it easier to roll out.
### 2. Roll Out the Dough
1. **Divide the Dough:** Cut the dough into two or three smaller portions to make rolling easier.
2. **Flatten the Dough:** Lightly flour your work surface and use a rolling pin (or pasta machine) to roll out one portion of dough into a thin sheet, about **1-2mm thick**. If using a pasta machine, start with the widest setting and gradually work your way to thinner settings.
3. **Let the Dough Dry Slightly:** Allow the rolled-out dough to rest for a few minutes before cutting to prevent sticking.
### 3. Cut the Tagliatelle
1. **Fold and Slice:** Lightly dust the pasta sheet with flour, then fold it loosely into thirds. Using a sharp knife or pasta cutter, slice the folded dough into strips about **¼ inch (6-8mm) wide**.
2. **Unfold the Strips:** Gently shake out the pasta strands and dust them with a little flour to prevent sticking.
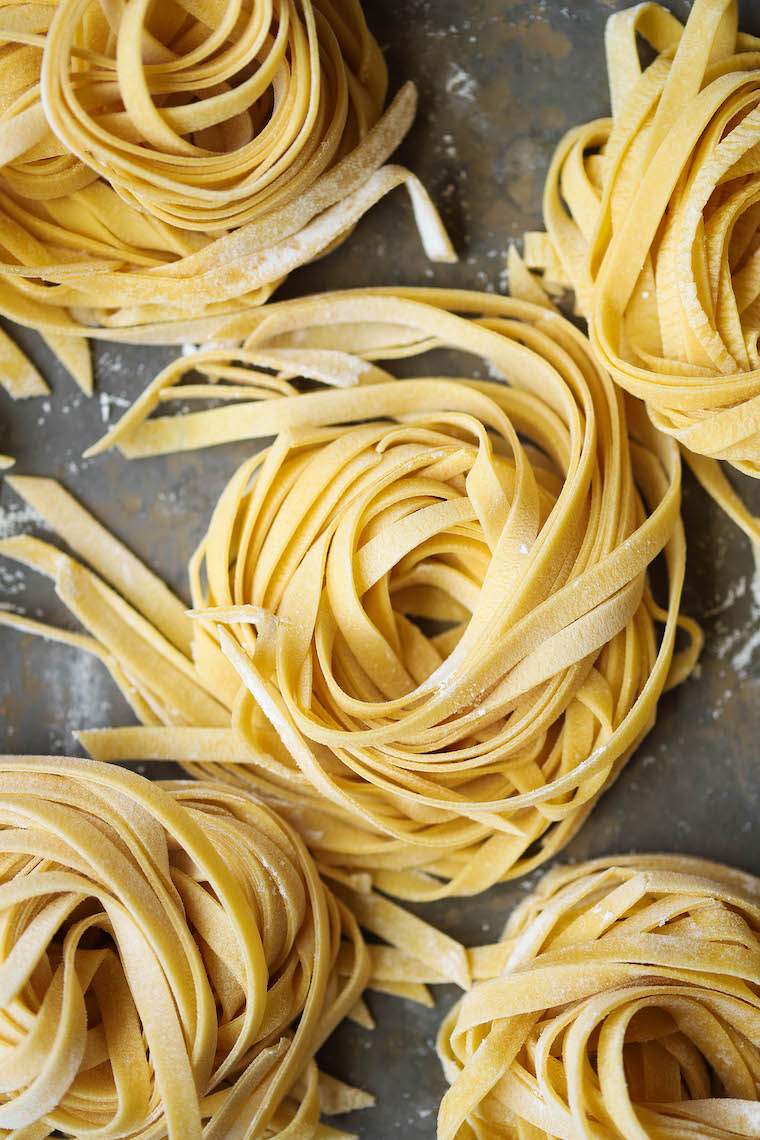
3. **Form Pasta Nests:** Gather the tagliatelle into small nests and let them rest while you prepare to cook them.
### 4. Cook the Tagliatelle
1. **Boil Water:** Bring a large pot of salted water to a rolling boil.
2. **Cook the Pasta:** Drop the fresh tagliatelle into the boiling water and cook for **2-3 minutes**, or until tender but still slightly firm (al dente).
3. **Drain and Serve:** Drain the pasta and toss it with your favorite sauce immediately.
## Serving Suggestions
Homemade tagliatelle pairs well with a variety of sauces, including:
– **Classic Bolognese (Ragù alla Bolognese)** – A rich, slow-cooked meat sauce.
– **Creamy Alfredo Sauce** – A simple yet indulgent sauce made with butter, cream, and Parmesan.
– **Mushroom and Garlic Butter Sauce** – A light and flavorful vegetarian option.
– **Fresh Tomato and Basil Sauce** – A bright and refreshing choice for summer.
## Storage Tips
– **Fresh Tagliatelle:** Can be stored in the refrigerator for up to **2 days**, lightly dusted with flour and covered with a clean towel.
– **Frozen Tagliatelle:** Arrange the pasta nests on a tray, freeze until firm, then transfer to an airtight container. Cook directly from frozen, adding an extra minute to the cooking time.
– **Dried Tagliatelle:** Hang the pasta strands on a drying rack and let them air dry completely before storing in an airtight container for up to **a week**.
## Conclusion
Making homemade